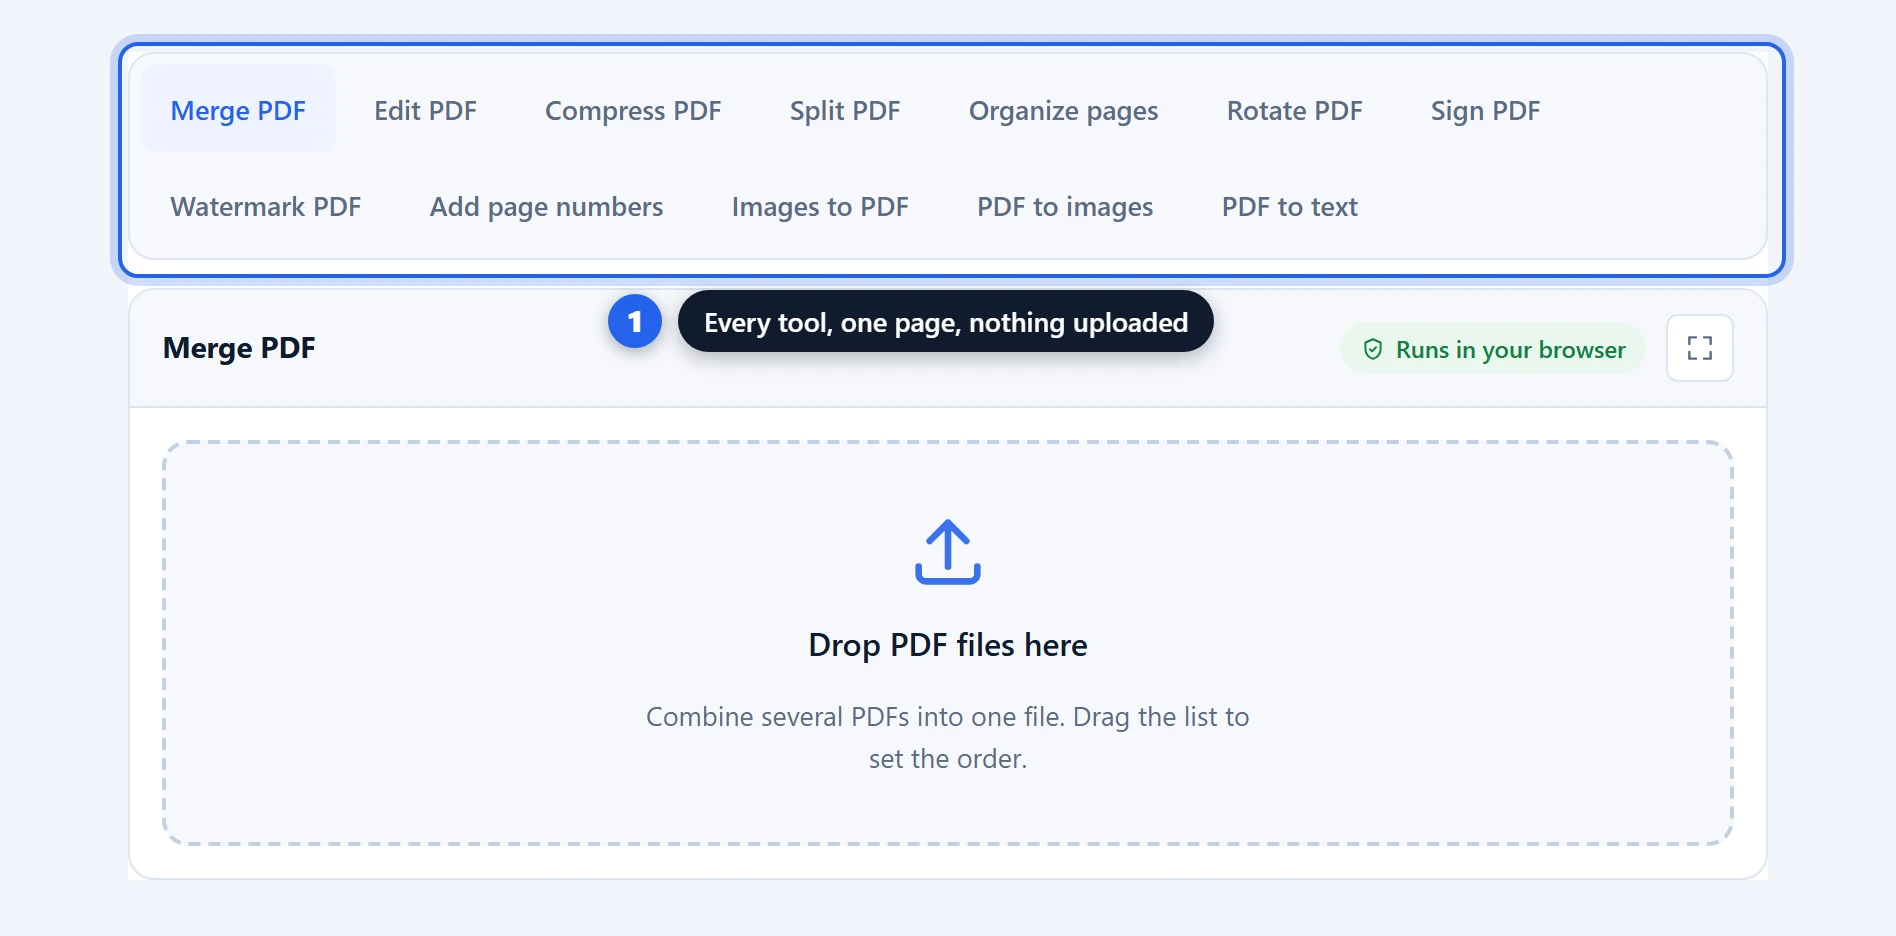
Convert JPG to PDF in your browser, free, with nothing uploaded. Drop in photos, screenshots or scans and get one tidy document: receipts for an expense claim, photographed pages of a contract, a set of certificates, or ID documents for an application. PNG and WebP work too, which many converters refuse. A live preview shows the first image laid out exactly as it will be saved.
JPG to PDF Free: 1 Clean File From Any Photos
How to convert JPG to PDF in 3 steps
Step 1 — add your images. Drag in as many JPG, PNG or WebP files as you like. Each appears in a list with a thumbnail, and the list order is the page order — drag the handles to rearrange before converting. If a photo has a desk, a windowsill or half a keyboard around the thing you actually wanted, hit “Crop” on its row and cut that away first.
Step 2 — choose the layout and page size. “One image per page” is the classic: “Match each image” gives every page the dimensions of its photo, while A4, Letter or Legal places each image on a standard sheet with orientation and margins under your control. “Arrange freely” opens a full-page layout view instead — your photos start one per sheet, and you move and resize them however you like, several to a page if that is the document you are making. The preview shows the result immediately.
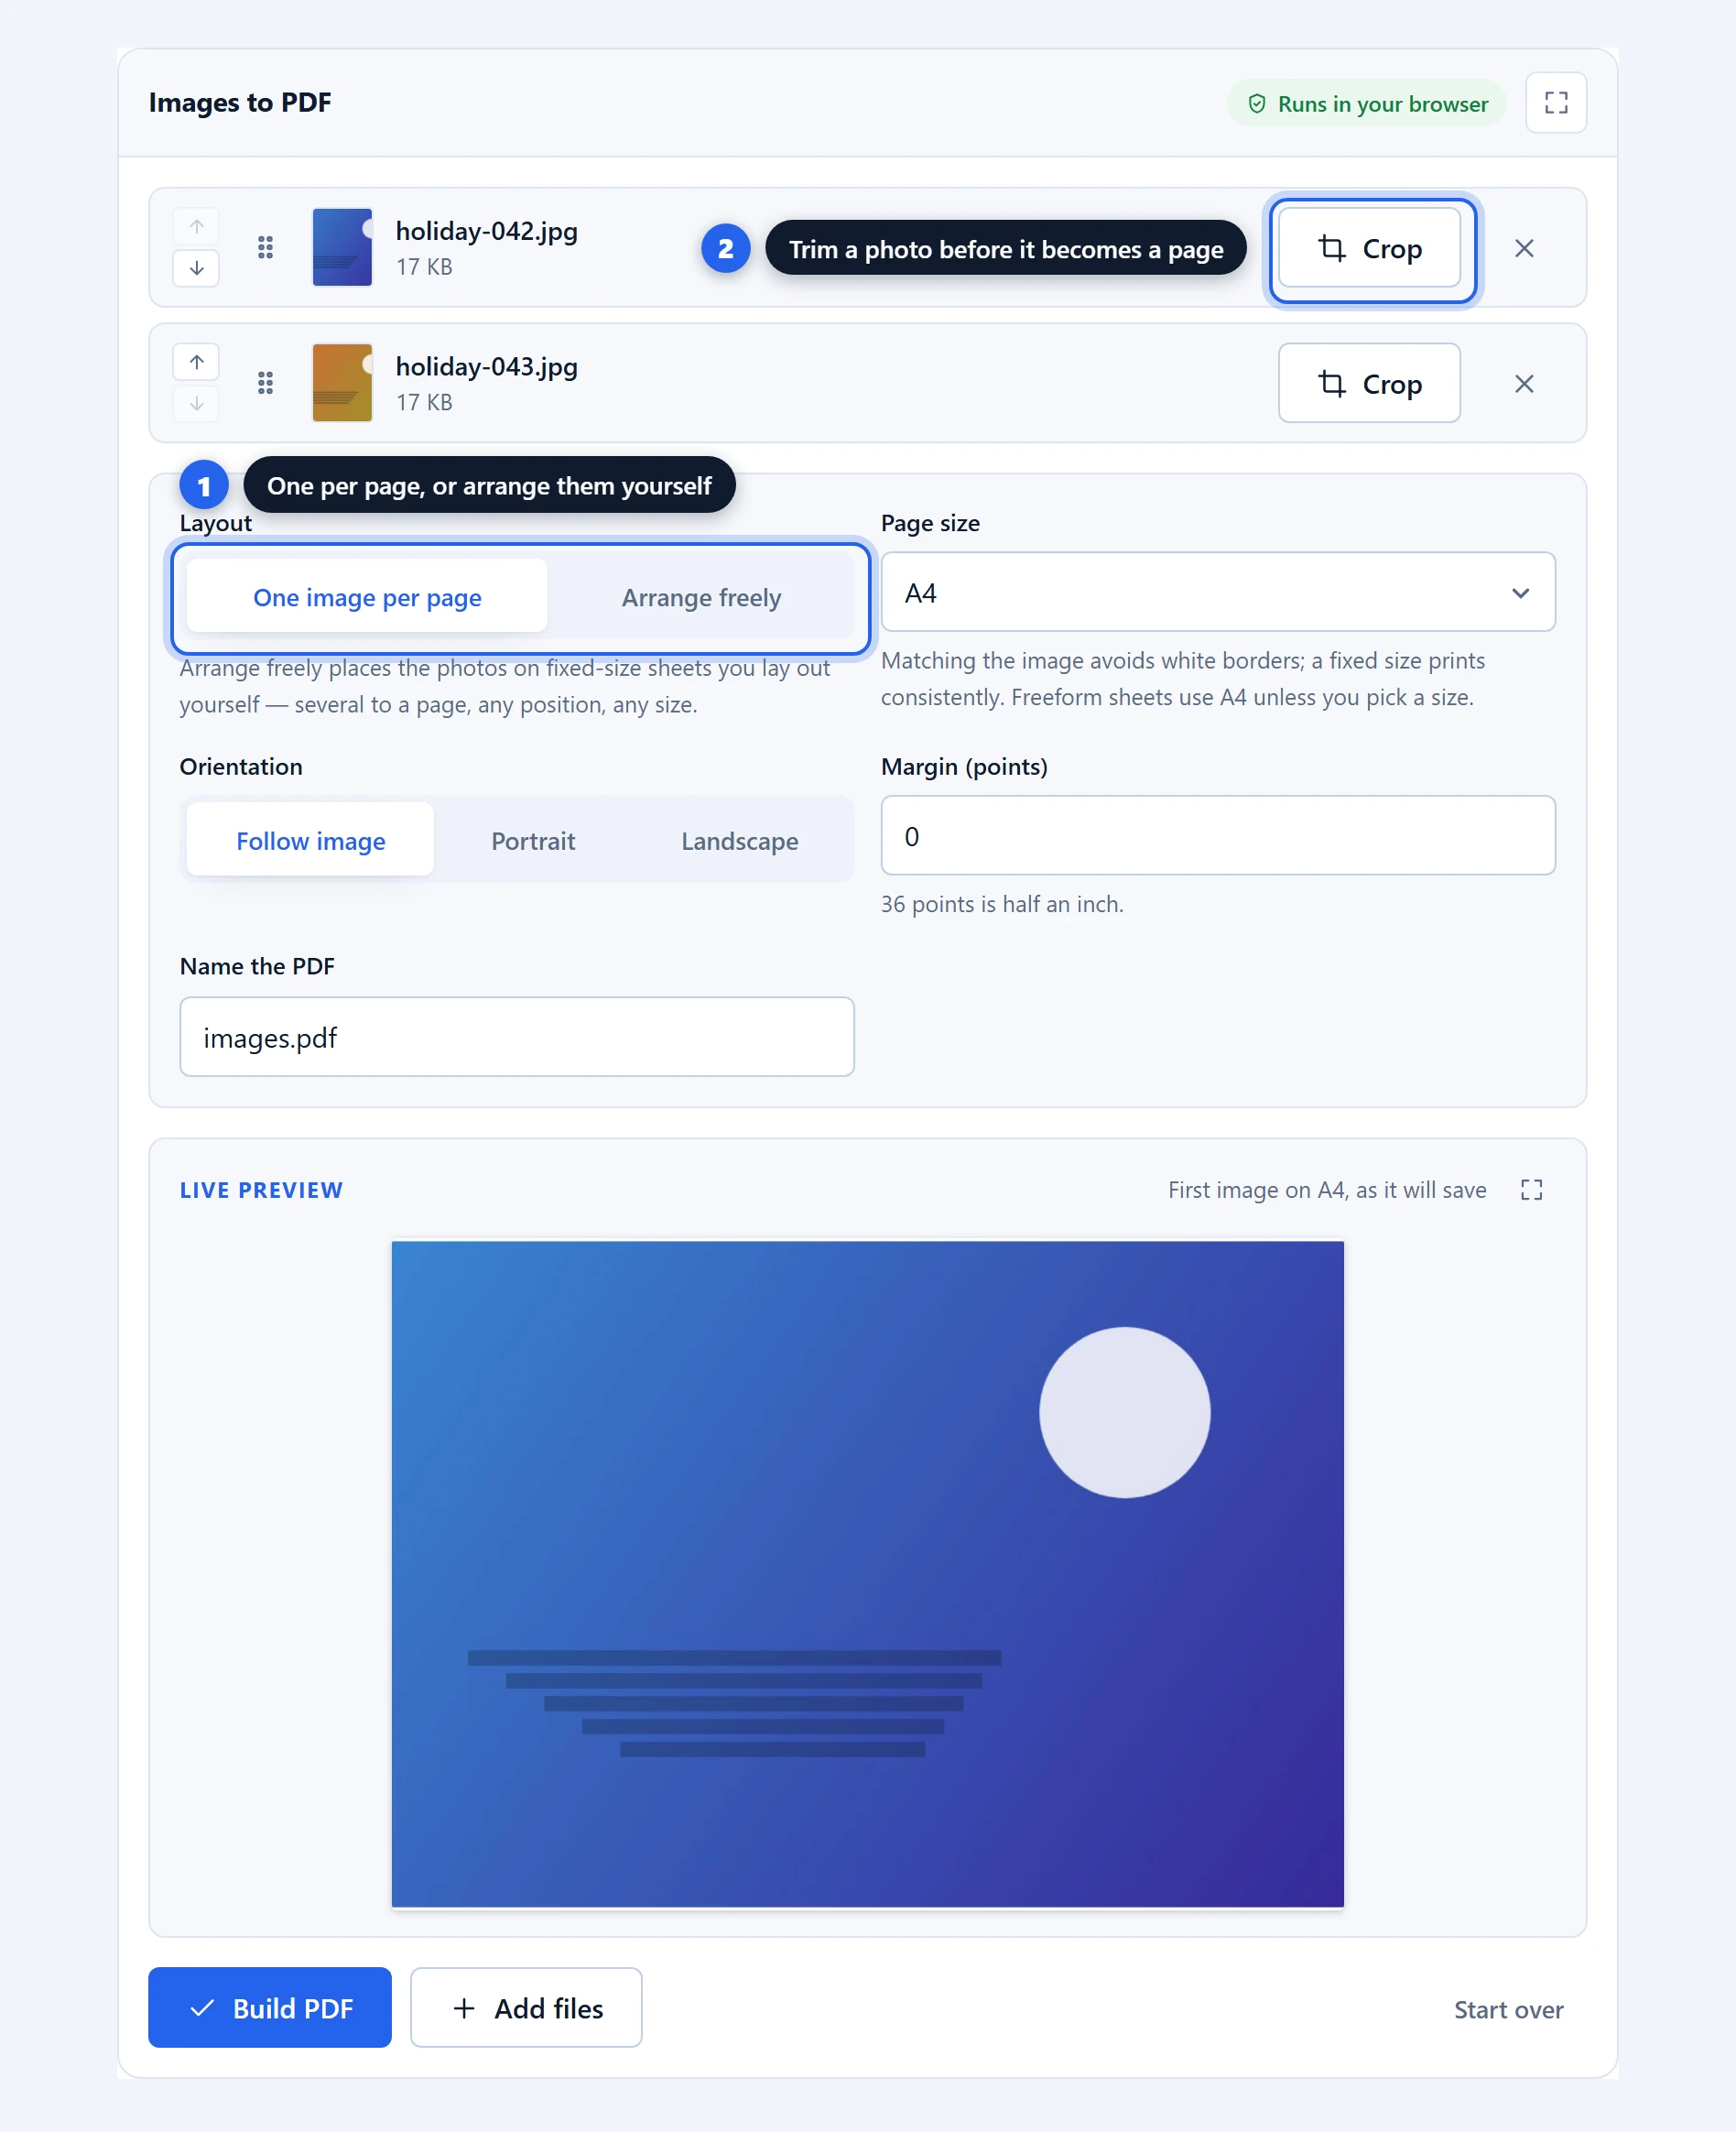
Step 3 — build and save. Name the file and click “Build PDF”.
Cropping a photo before it becomes a page
Most photos of documents are mostly not the document. You hold a receipt down on a kitchen table, take the picture, and two thirds of the frame is table. Convert that as it is and the receipt ends up small and off-centre on an A4 page, floating in a field of worktop.
Every image row has a Crop button. It opens the photo full width, and you drag a box over the part you want to keep. The eight handles resize the box from any edge or corner, dragging inside it moves the whole selection, and the readout in the bar counts the real source pixels you have selected — useful when something has to stay above a minimum resolution.
The shape buttons constrain the box while you drag it: Free for anything, Square, A4 for a crop that will sit on a sheet with no white bands, and 4:3 or 3:2 for the usual photo proportions. Rotate left and rotate right turn the image in ninety-degree steps, which is the fix for a scan that came in sideways. Reset puts everything back. Nothing is committed until you press Apply crop.
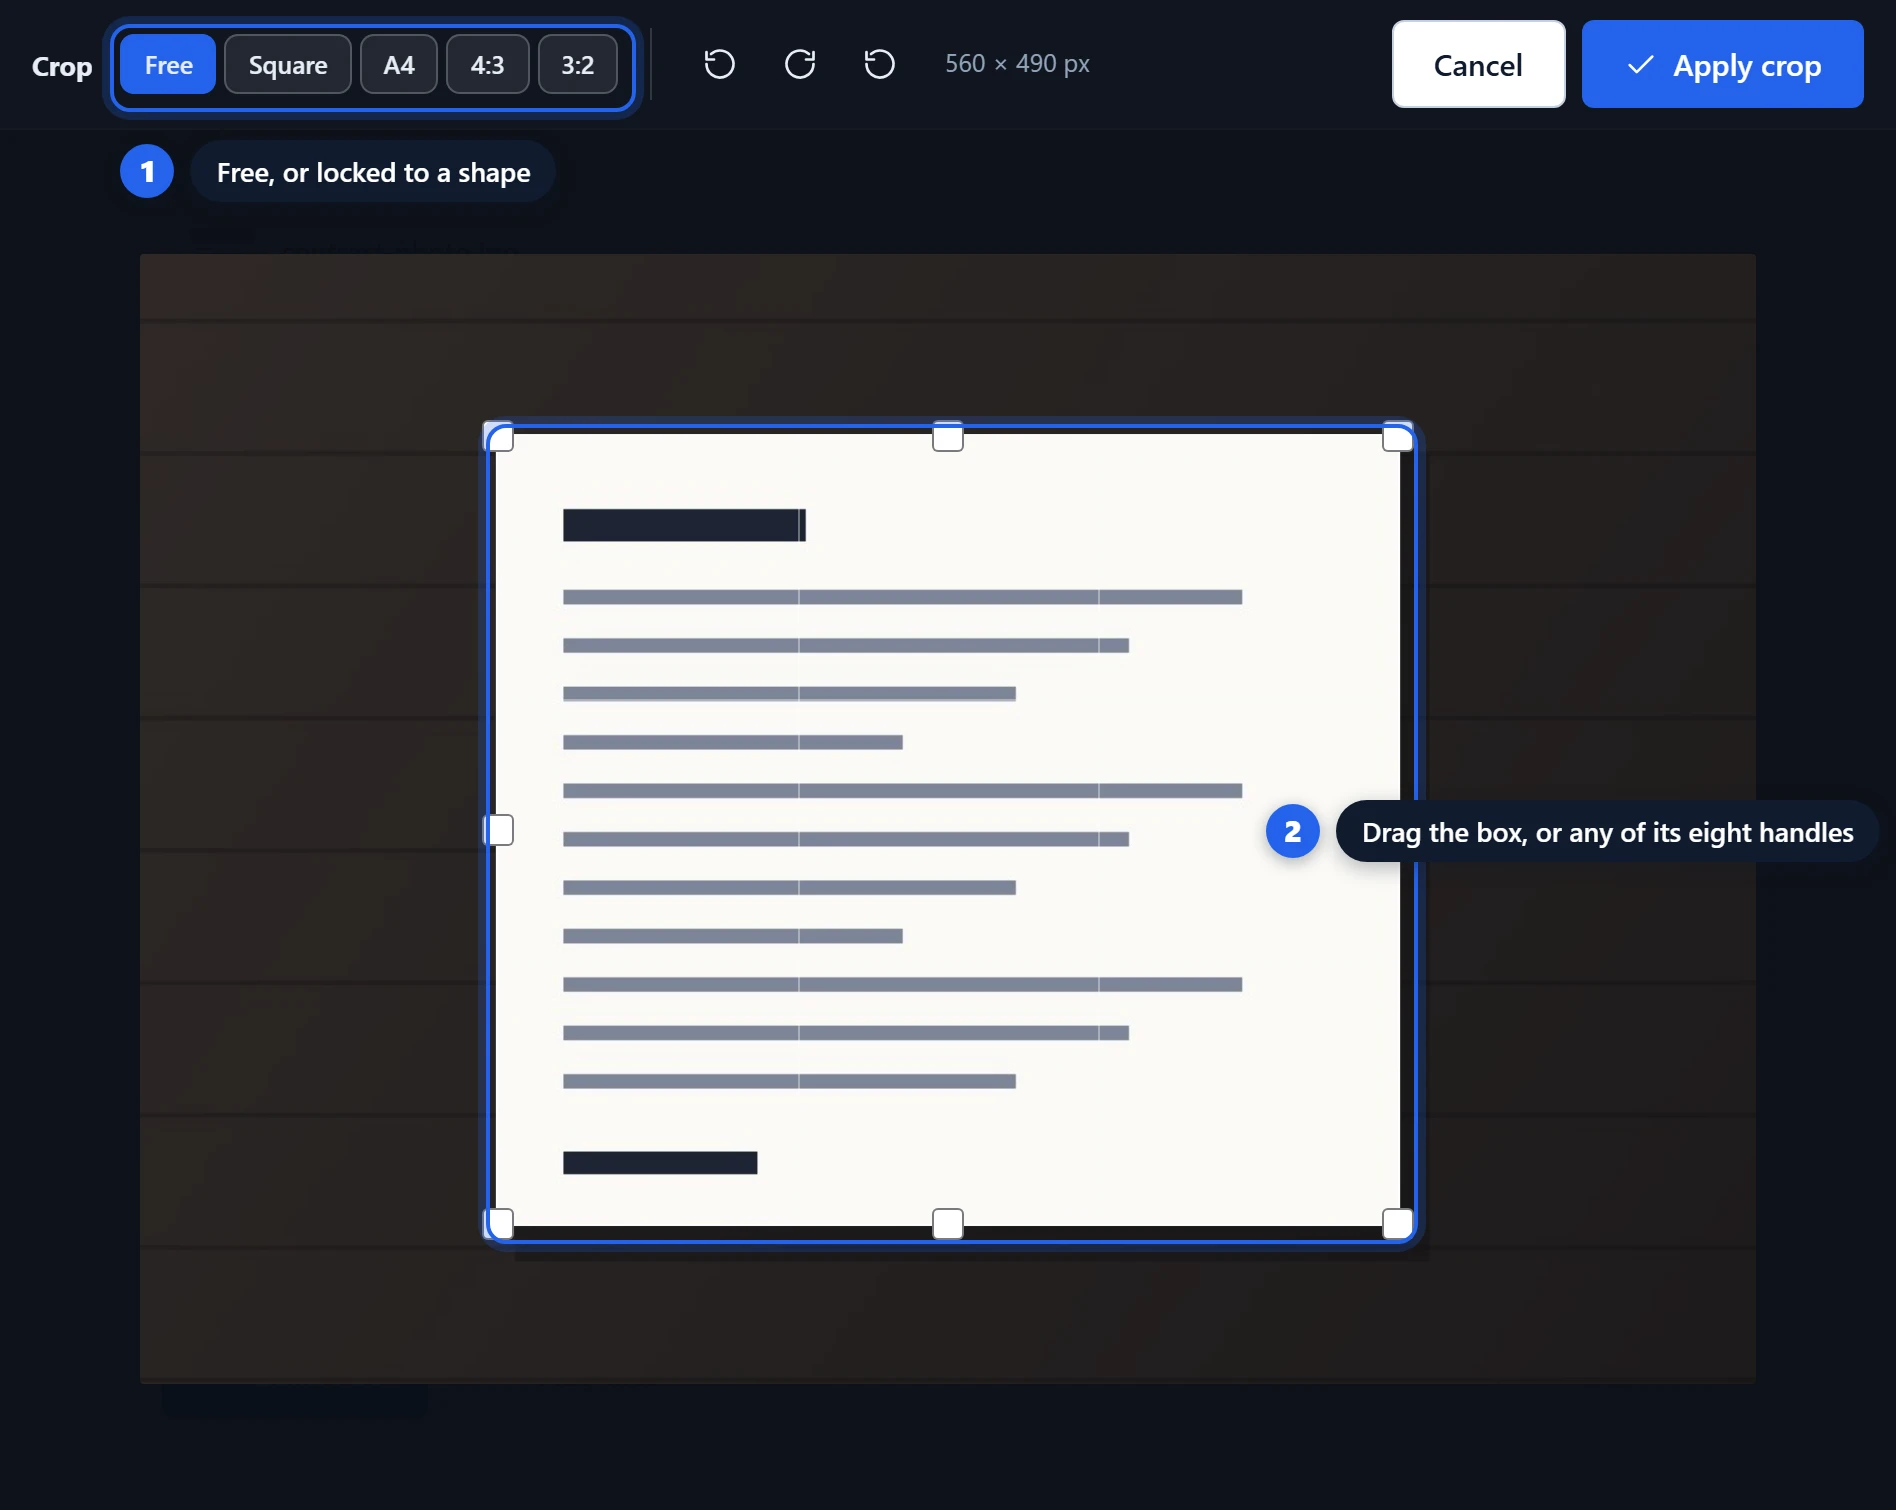
The cropped image then replaces the original in the list, so the preview, the page size and the freeform layout all work from the pixels you kept. Crop again if you overshot. Your file on disk is never touched — the cropping happens on a copy in memory, on your device, like the conversion itself.
One thing worth knowing: a JPEG re-saves when you crop it, so it passes through the encoder a second time. At the quality we write, you will not see it on a photograph of a page. PNG screenshots stay PNG and stay lossless, transparency included.
Match each image, or use a standard page size?
This is the only decision that really matters here, and the right answer depends entirely on what happens to the file next.
Match each image makes every page exactly the size and shape of its photo. Nothing is added, so there are no white borders and no wasted space. This is what you want for anything read on a screen: a portfolio, screenshots, a photo album, or images being sent to someone who will view rather than print them. The downside is that pages vary in size, which some print workflows dislike.
A4, Letter or Legal places every image on a uniform sheet, centred, scaled to fit. This is what you want for anything destined for paper or for an official process. Expense claims, application documents, printed handouts and anything going into a filing system all benefit from consistent pages. The trade-off is white space around images whose proportions do not match the sheet.
The rule of thumb: screen means match the image, paper means pick a sheet size.
Arranging photos freely on the pages
Sometimes one image per page is not the document you want: a photo sheet for an insurance claim, two receipts on one page, a moodboard, a contact sheet. “Arrange freely” is for exactly that.
It opens the same full-page layout view our PDF editor uses. Your images start one per sheet, centred. From there, everything is direct: drag a photo anywhere on its page, pull the corner grip to resize it, and drag it onto a different page to combine several on one sheet. Pages left empty are dropped from the file automatically, so pulling four photos onto one sheet saves as one page, not four.
You can also add more images from inside the layout view, nudge anything into place with the arrow keys, and undo any step. What you see is what saves — the sheets are real pages at real proportions.
Orientation and margins
Both appear once you choose a fixed page size.
Follow image decides orientation per page: a landscape photo gets a landscape sheet, a portrait one gets portrait. It uses the sheet efficiently and is the default. Forcing portrait or landscape makes every page the same way round, which matters when the document will be stapled, bound, or fed through a scanner that expects consistency.
Margins are given in points, where 72 points is an inch. Zero fills as much of the sheet as the image proportions allow. Thirty-six points is a comfortable half-inch border, which looks intentional in print and gives a stapler somewhere to bite. Anything above about 72 points starts to make the images small.
Placing an image on a sheet never crops it. A tall photo on a wide sheet is scaled to fit and gets space to its left and right rather than losing its top and bottom — a receipt should not lose its total behind a margin you did not ask for. When you do want something trimmed, that is the Crop button’s job, and you decide where the cut falls.
Why converting on your device matters here
Think about what people photograph and convert. Passports and driving licences for an application. Bank statements for a mortgage. Receipts with card details visible. Medical letters. Signed pages of a contract. It is consistently among the most sensitive material anyone handles, and the standard workflow is to upload it all to a free website.
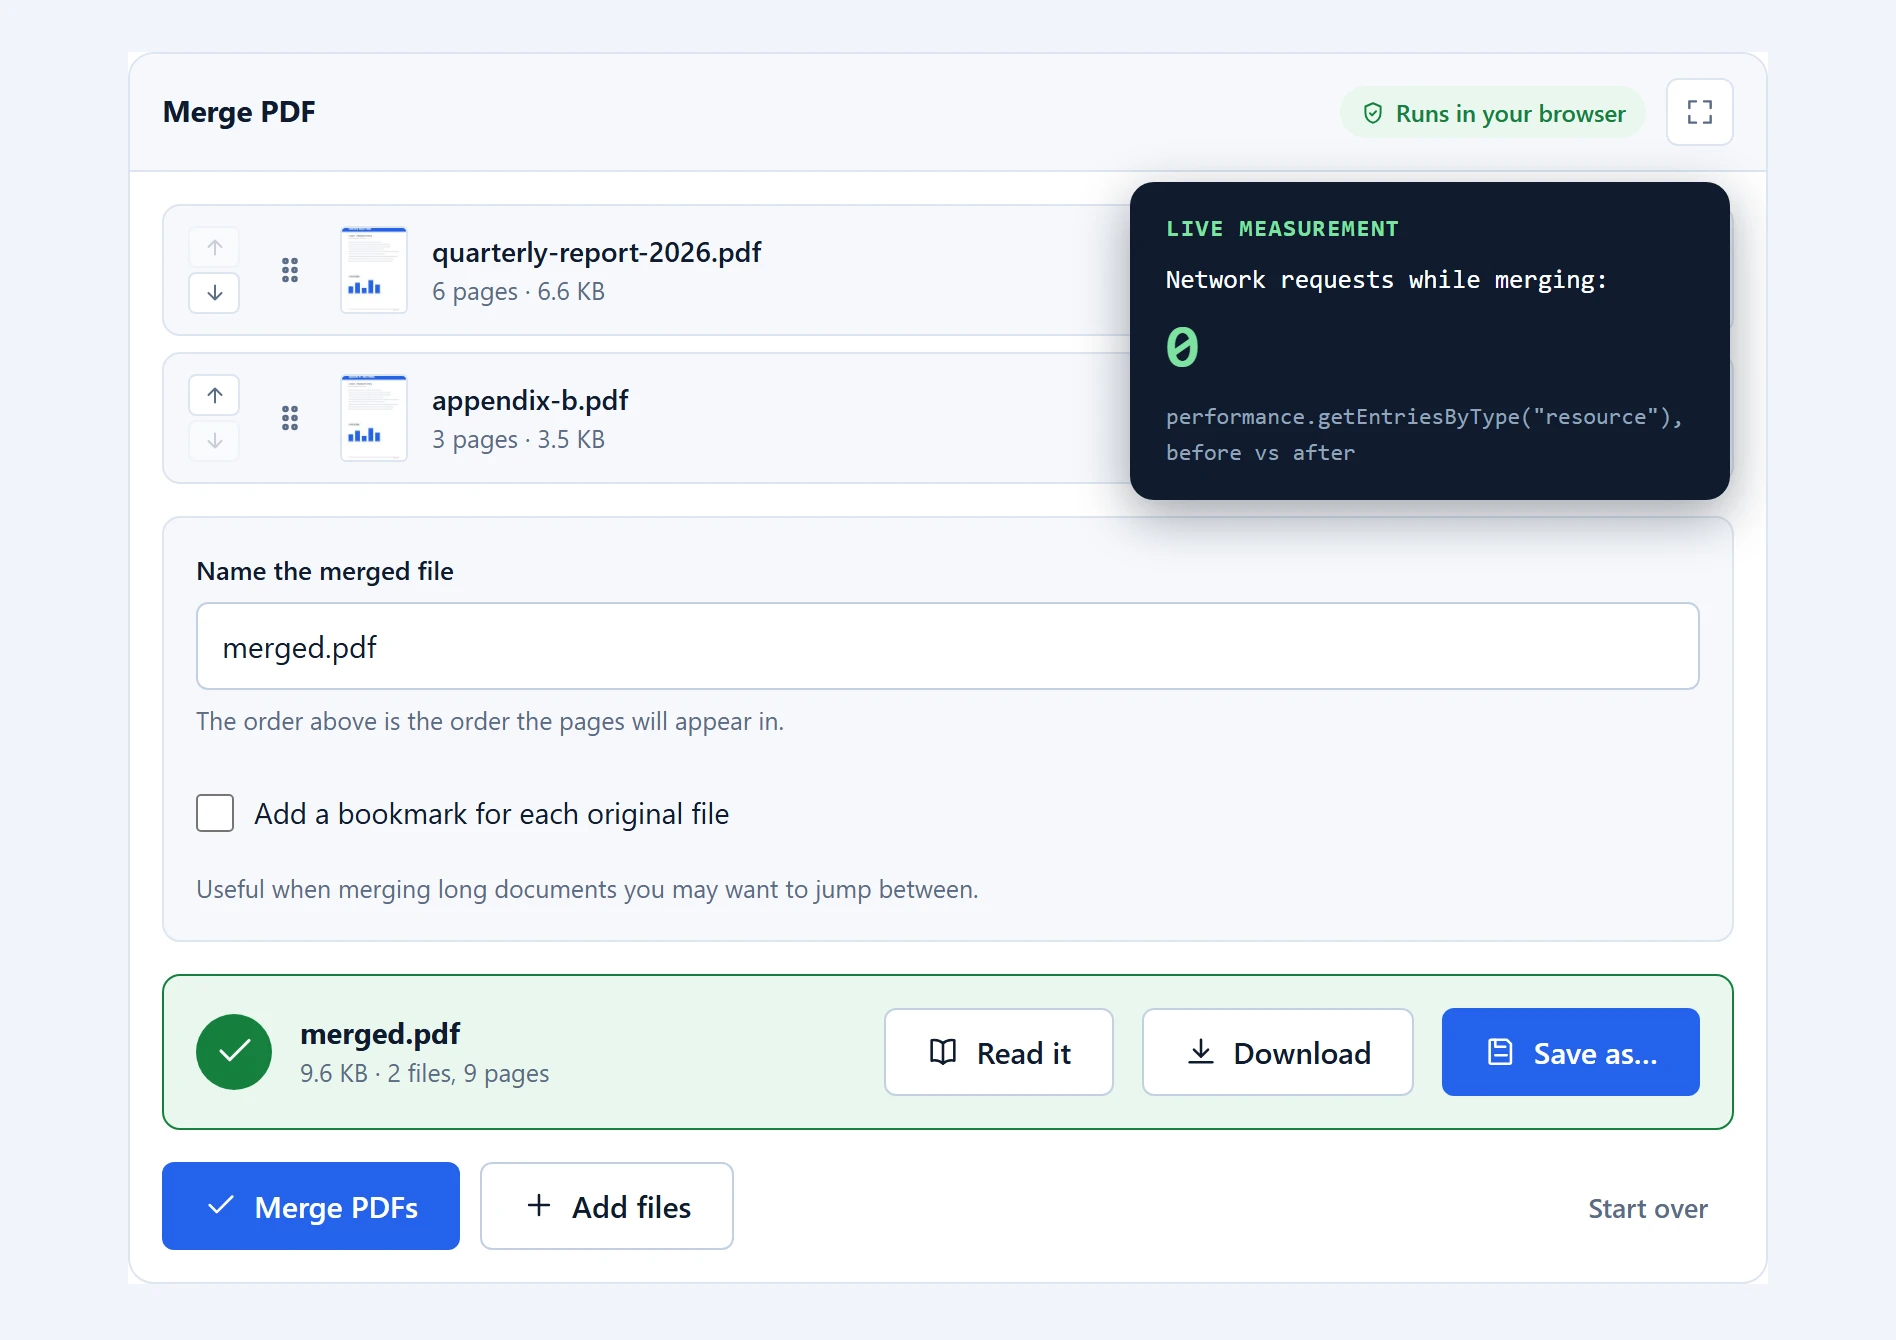
Here the images are read into memory and written into a PDF by pdf-lib, entirely in your browser. Nothing is transmitted, so there is no retention period to read about and no copy on a server to worry about later.
There is a practical benefit too: no upload means no upload wait. Twenty phone photos at 4 MB each is 80 MB that would otherwise have to travel up and back down again. Here the conversion starts immediately.
What happens to image quality
JPG and PNG images are embedded unchanged. The bytes of your photo go into the PDF exactly as they came out of your camera, with no recompression and no quality loss. A 4 MB photo contributes about 4 MB to the document, which is why a PDF of twenty photos is a large file — that is the photos, not the wrapper.
WebP is the exception, and worth being straight about. PDF has no native WebP support, so those images are converted to JPEG at high quality before embedding. The difference is invisible in normal viewing, but it is a re-encode rather than a copy. If a WebP file is precious, keep the original.
Because nothing is recompressed, this tool does not shrink your images. If the resulting PDF is too large to email, the answer is to reduce the photos before converting rather than after.
Where it works well, and where it does not
The text in your images is not searchable. A photographed page becomes a picture of a page. The PDF contains no text to select, copy or search, because there is none — making it searchable requires OCR, which is a different job.
HEIC photos from iPhones are not supported. Browsers cannot decode HEIC without help. Most iPhones can be set to capture JPEG instead, and sharing a photo through most apps converts it automatically.
Photos are used as they are. No cropping, straightening, contrast correction or edge detection. A photographed document taken at an angle stays at an angle. Dedicated scanning apps do this well and are the better tool when you need it.
Large batches on phones. Thirty high-resolution photos is a lot of memory for a mobile browser. The tool warns you before starting a job the device may not finish.
Troubleshooting
“This file is not a JPG, PNG or WebP image.” Usually a HEIC photo from an iPhone, or a file whose extension does not match its contents. Re-save or re-share the image as a JPEG.
The PDF is enormous. Expected: images are embedded at full quality without recompression. Reduce the photos first if the file needs to be emailed.
My images are in the wrong order. The list order is the page order. Drag the handles to rearrange before converting; phone galleries often sort differently from how you expect.
There is white space around my photos. That is the fixed page size doing its job. Switch to “Match each image”, or reduce the margin.
A photo came out sideways. Some cameras store orientation as metadata rather than rotating the pixels. Open Crop on that row, use rotate left or right, and apply — the saved image carries the new orientation in its pixels. You can also fix it afterwards with rotate PDF.
My photo has the table around it. Crop it. The button is on the image’s row, and the crop replaces the file everything downstream works from.
Frequently asked questions
Is this JPG to PDF converter free?
Yes. No account, no limit on how many images you convert, and no watermark on the output. Your device does the conversion, so there is nothing to meter.
Are my photos uploaded anywhere?
No. They are read and written into the PDF entirely in your browser. This matters here more than most places, because the images people convert are often passports, statements and signed documents.
Does converting reduce my photo quality?
JPG and PNG images are embedded unchanged, with no recompression. WebP is the exception: PDF cannot store WebP, so those are converted to high-quality JPEG first.
Can I convert PNG and WebP as well as JPG?
Yes, and you can mix all three in one document. WebP support is unusual among converters, so screenshots saved by modern browsers work without conversion first.
Why will my iPhone photos not load?
They are probably HEIC, which browsers cannot decode. Set your camera to “Most Compatible” to capture JPEG, or share the photos through an app that converts them on the way out.
Can I reorder images before converting?
Yes. Drag the handle on the left of any row. The list order is the page order, which matters because phone galleries do not always sort the way you expect.
What page size should I choose?
If the PDF will be read on a screen, “Match each image” avoids white borders. If it will be printed or submitted somewhere official, pick A4 or Letter so every page is consistent.
Will the text in my photos be searchable?
No. A photographed page becomes an image of a page, with no text layer to search. To get the words out of such a document, our PDF to text tool reads scanned pages with OCR — but the PDF built here stays an image.
Can I put several photos on one page?
Yes. Choose “Arrange freely” and drag photos between the sheets in the layout view — move, resize and combine them however the document needs, and pages left empty are dropped automatically.
Can I crop an image before converting it?
Yes. Press “Crop” on the image’s row, drag a box over the part you want, and apply. The trimmed version replaces the original in the list, so the preview and the finished PDF both use it. Your file on disk stays as it was.
Can I straighten a sideways scan?
The crop view rotates in ninety-degree steps, which covers a scan or photo that came in on its side. It does not correct a small tilt of a few degrees — for that, retake or rescan the page squarely.
Related PDF tools
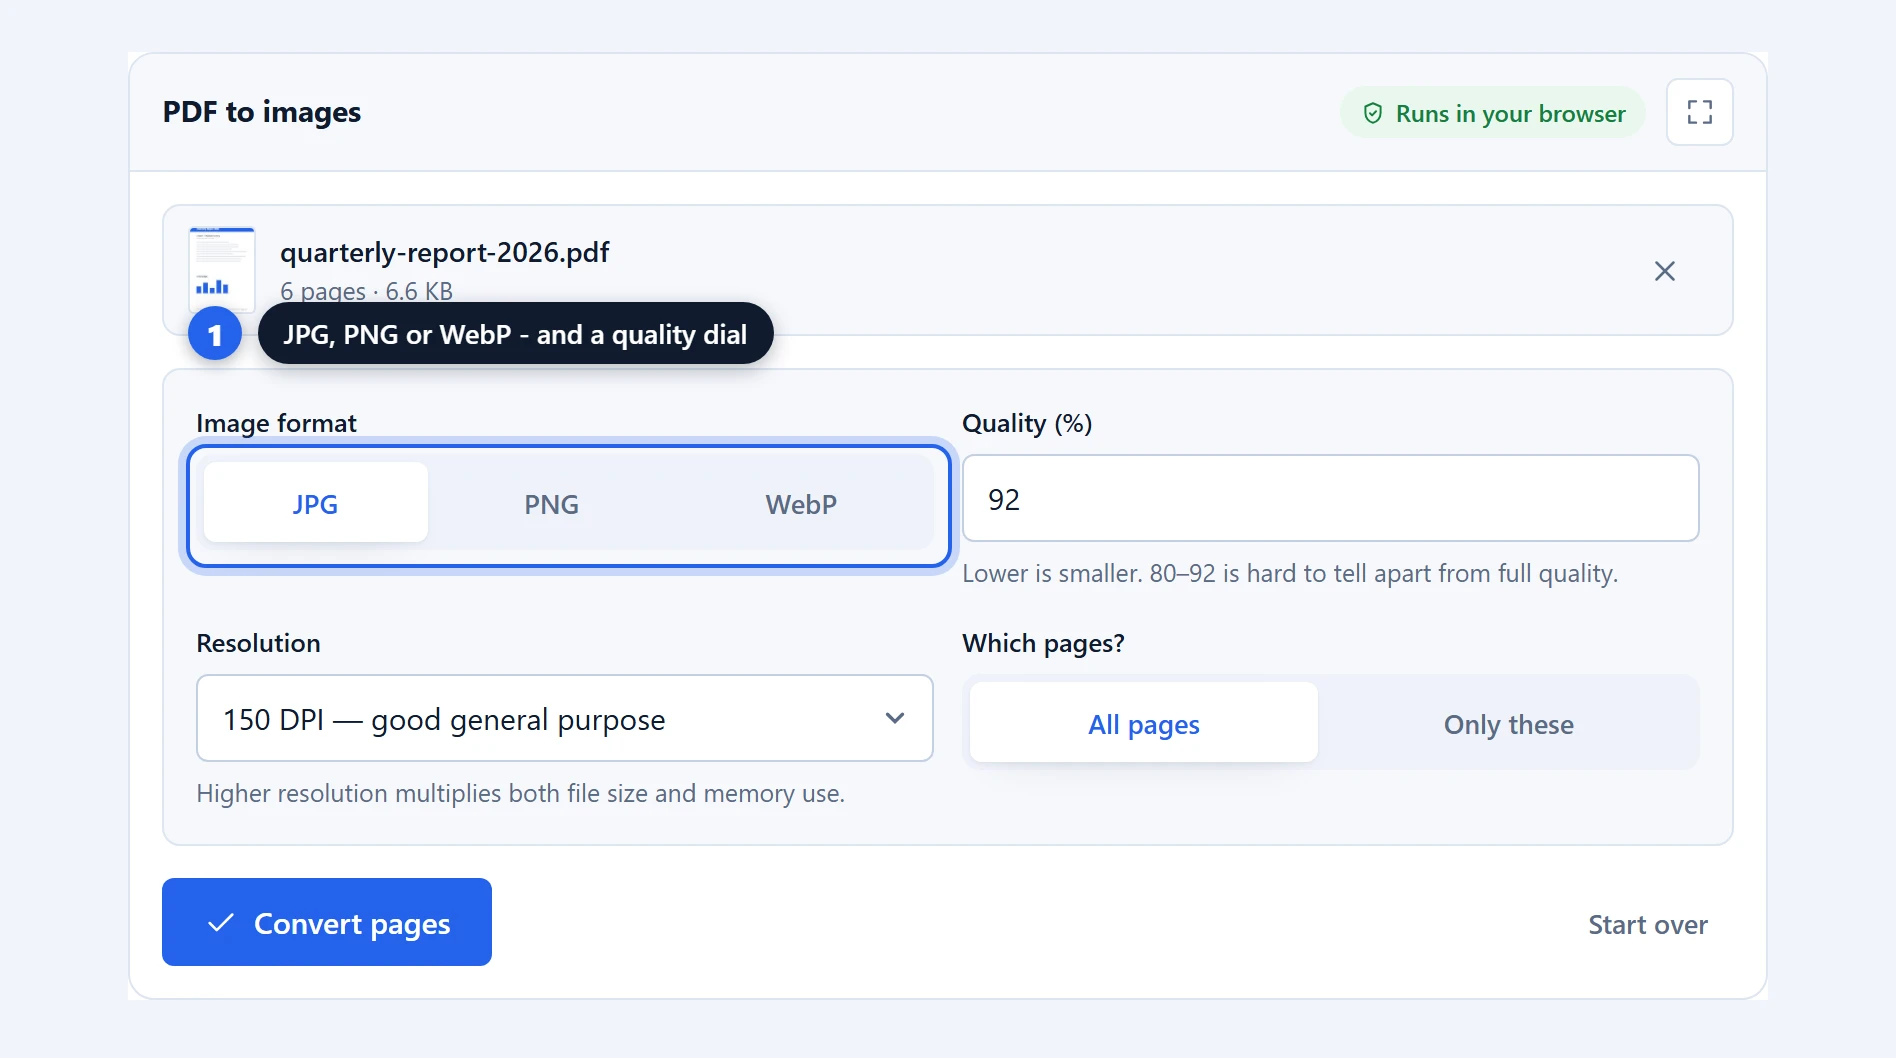
Going the other way, PDF to images turns pages back into pictures. Once built, merge PDF combines your photo document with other files, and sign PDF adds a signature. They are all on the PDF tools page.